It’s Been Too Long

Every day for the past eleven months I have recited the Mourner’s Kaddish, the Jewish prayer for the dead, for my mother, who passed on April 16, 2021. I’ve been very lucky to have been able to say it with at least nine other people, in person or on Zoom, who have supported me during this time. My last day of saying kaddish is today and it’s been an amazing experience. 

I’m sorry for taking so long to return to my little blog. It never felt like the right time to announce my mother’s passing so I kept on pushing it off. In between writing for my column in The Daily Hampshire Gazette, I’ve started to make TV appearances on Mass Appeal, the morning lifestyle show in Western Massachusetts. Those have been a lot of fun, although my last appearance, where I demonstrated making a beet reuben, takes the cake. When I arrived at the studio all the guests were informed that we had to promote that night’s new reboot of Law & Order. It just happens to be my favorite TV show of all time, so it was kind of like a dream moment to talk about beets and Law & Order at the same time! 

My mom passed the day before my birthday, and yes, birthdays since have been kind of a mess for me. Please don’t take it personally that I haven’t called or sent you a greeting through Facebook. It’s been…hard. I wrote about my mother’s death in my There is a Season column for The Daily Hampshire Gazette. (Bonus artichoke recipe for that one.) 

Near the cemetery where my mother is buried in Springfield, Massachusetts, is a Latin American grocery store. I can almost hear my mom saying, “Molly-Dolly, let’s go get some plantain chips!” something she discovered in the 1970s, during her years of teaching in the first bilingual classroom in the city. My mother was an educator, through and through, having taught in the public school system and Hebrew school classrooms for 50 years total. 

I do go to the market to buy plantain chips, but also fresh plantains that I’ve been frying up and eating with crema. (A new addition to our Chanukah table.) I tend to stock up on spices, Mexican cheeses and other treats that are a touch harder to find at the regular grocery store.

The Mexican oregano has been used in some hearty Italian soups this winter, much to the enjoyment of my family. A few weeks back I made Salvadoran papusas, served with a side of the traditional curtido, the fermented cabbage slaw that is spiced with oregano, and creamy horchata to drink, because why not? 

The curtido, a simple slaw made from some shredded green cabbage, shredded carrot, some vinegar and oregano, has found its way into countless dishes since our original papusas. It’s topped many sandwiches, lent a little something extra to regular salads, and has been great, just on toast. I think of it as a replacement for sauerkraut or kimchi, or anywhere you’d like a taste of something a little pickled and spiced. 

Curtido

Ingredients

½ cup water

¼ cup white vinegar or cider vinegar

2 teaspoons kosher salt

1 teaspoon dry (Mexican) oregano

A pinch of crushed red pepper, or one thinly sliced jalapeno pepper

¼ head of green cabbage, finely shredded

1 medium carrot, peeled and shredded

¼ red onion, sliced thin

Directions 

Whisk together water, vinegar, salt, oregano and crushed red pepper together in a large bowl. Add cabbage, carrot and onion. Toss to combine and coat evenly. Let stand 30 minutes. 

Either serve immediately, or place in the fridge. Honestly, for best results, let it stay overnight in the fridge. This slaw is good for at least a week. 

And The Beet Goes On

“They’ll keep,” my mom reassured me once I told her how I’d accidentally bought seven pounds of golden beets from the local farm collaborative. This is a bit of a problem for me: I have a hard time judging proportions. I once accidentally bought nine cubic yards of soil for a garden. 

While some might find this to be a nightmare scenario, my love of beets went into overdrive. (I mean, I did name this blog after them.) The first few pounds we juiced in the juicer I picked up this fall through the Buy Nothing Northampton Facebook Group. After we cleaned up the kitchen, I roasted another three pounds and enjoyed them throughout the week. On Monday night we had roasted beet Reubens, made with sauerkraut from Real Pickles, and bread from Rise Above Bakery in Greenfield. 

On Tuesday, I reached for my Ultimate Nachos cookbook for some Taco Tuesday inspiration. Although there was a recipe for beet, apple and goat cheese nachos, I landed on “The Joker Guacamole,” because, well, guacamole. The recipe was clearly intended to be made with red beets to end up purple and green, like the Clown Prince of Crime. My beets’ golden color meant my guacamole wasn’t stained, but neither were any of my cutting boards nor my hands. I cut back on the amount of garlic and lime juice in the recipe below because it was too strong.  

I also made queso because cheese sauces are generally something that makes me happy. This recipe dirties two saucepans and takes a bit of attention and time, but it was totally worth it. I used Cabot sharp cheddar cheese and it was perfect. I felt like I was at a ballgame as I dipped my tortilla chips into the cheese sauce and mound of mashed avocado. Even Lilli, my picky eater, enjoyed the cheese sauce on top of pasta that night. 

The rest of the week we enjoyed beets in salads, with hummus in sandwiches, and tzatziki. They also featured in a fresh “Winter Roll” with sprouts, arugula, roasted butternut squash and raw carrot with a peanut sauce.

There’s a single golden beet left, and you might be think I would be done for a while. But I just roasted a (much more reasonable) batch of red beets and have started using them. And the circle of life continues.

Beet Guacamole and Bechamel Cheese Sauce (Queso) from Ultimate Nachos by Lee Frank & Rachel Anderson

Beet Guacamole

Ingredients 

2 avocados, halved lengthwise, pitted, and flesh scooped out

1 garlic clove, minced

Juice of 1/2 lime

Salt and pepper

1 small roasted beet, trimmed, peeled and grated

Directions

In a medium bowl, mash the avocados with the garlic and lime juice, using a fork

Season with the salt and pepper

Fold in the beet. Do not overmix. 

Season again with salt and pepper to taste. 

Bechamel Cheese Sauce

2 tablespoons unsalted butter

2 tablespoons all-purpose flour

2 cups whole milk 

8 ounces melting cheese of your choice, shredded (about 2 cups)

Salt and pepper

Directions

In a medium saucepan, melt the butter over medium-low heat. 

Add the flour and stir until a smooth paste forms, 5 to 6 minutes. 

Meanwhile, in a separate pan, heat the milk until it is just about to boil. Be careful not to burn the milk. Burnt milk is cringe-worthy. 

Gradually add the hot milk to the butter mixture, and whisk continually until smooth. Bring the sauce to a boil. 

Cook for 10 minutes, stirring constantly, then remove from the heat, immediately add the shredded cheese, and stir together until evenly incorporated. 

Season the cheese sauce with salt and pepper to taste. 

There is a Season

This summer started with a furlough. It’s not an ideal situation, but I’m trying to make the most of it. Introducing my new cooking column – There is a Season – in the Daily Hampshire Gazette. My column runs on Saturdays, but you can find me online any day. If you like what you see, consider buying a subscription and helping me support local journalism. 

If you were wondering, it was my editor who came up with the name. He offered me a few, but I loved There is a Season because it’s punny and so true. It also reminds me of Ecclesiastes, and since one of my degrees is actually Bible, it makes me smile.

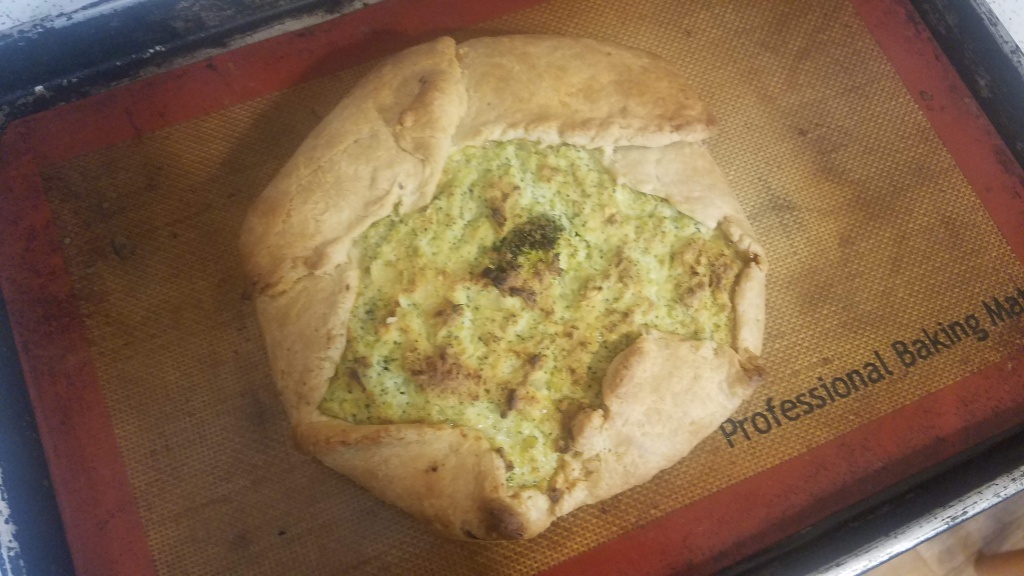
For my first week I did a variation on an old Cheap Beets favorite: a savory galette. I’m not going to reprint the full recipe here, but it’s really more a template that you can fill with whatever vegetables you have coming your way this summer.

Ready for my close up

I’ve received a number of requests for recipes I’ve posted to my Instagram account with some folks even asking for video demonstrations. I took vacation time for Passover, and today I offer you Cheap Beets’ first ever video. It’s for zucchini ricotta fritters, something I make every year for Passover. Enjoy!

Lip Singe Challenge

I am not usually a fan of spicy foods, but I do make exceptions. One of them is green papaya salad, which I will order whenever I see it on a menu at a Thai restaurant. Green papaya salad is one of the reasons I keep coming back to the Lowell Folk Festival, although the last time we were there it was too spicy for me. Our friend Dan ended up eating it. He’s spent years in Southeast Asia and didn’t think it was spicy. He was less prepared for two straight hours of whining from Beatrix about a balloon, which somehow didn’t phase us! Amazing what you get used to.

20200315_163523

I haven’t posted a green papaya salad in large part because green papaya can be hard to come by, and I try to post things with accessible ingredients. But as luck would have it, there is a pounded green papaya salad recipe in Chrissy Teigen’s cookbook Cravings, which I borrowed from the library during my prep-athon last week, and she includes an adaptation that substitutes green beans for papaya. And I had just panic-bought two pounds of green beans on the same trip!

I’ve actually modified this recipe down to the lowest level of spicy. That also makes it a pantry recipe for me, because I have dried hot peppers from the Winter CSA; just use a pinch of red chili flakes if you don’t. You need an entire lime for this one, and you must eat it with rice to calm your face down. If fish sauce isn’t your thing, this recipe is not for you. But, boy, are you missing out. 

It works best if you have a mortar and pestle for the pounding, but if you don’t, Teigen suggests using a muddler. I ended up splitting the difference, using a pestle in a metal bowl once all the green beans were added in. 

I flippin’ love this recipe so much. Thank you, Chrissy Teigen. If you don’t have green beans or a green papaya, it’ll also work with shredded cucumber. 

Pounded Thai Green Bean Salad from Chrissy Teigen’s Cravings

Ingredients 

1 lime, halved

1 dried red chile pepper

2 cloves garlic

2 tablespoons palm, raw or light brown sugar

10 cherry tomatoes, halved

2 tablespoons fish sauce

1 pound green beans

3 tablespoons chopped unsalted roasted peanuts (optional)

Rice, for serving 

Special Equipment

Large mortar and pestle (or you can fake it; see recipe) 

Directions 

Cut one-half of the lime into small wedges and place in a large mortar along with the dried chile, garlic and sugar. Crush with the pestle until the chile is mashed and bruised but not totally pulverized and the sugar is dissolved. Add the tomatoes and pound a few times to bruise the tomates. (You can also accomplish this with a plain old bowl and a round-ended cocktail muddler. Or you can chop the garlic first and just mix and mash everything in a mixing bowl. Squeeze the juice from the remaining  lime half (about 1 tablespoon) into the mortar and stir in the fish sauce. 

Trim and cut the green beans into 2-inch lengths. You should have about 4 cups of beans. 

Add the green beans to the mortar and mash and toss lightly. Divide the salad among bowls. If desired, top with peanuts. Serve with rice. 


There’s a Horse… in the Hospital

“Are you reusing a tea bag?” Rich just asked me as I poured hot water into a mug. Indeed, I am. That’s a trick I picked up from my stepdad Max, one of many food hoarding behaviors I realized recently trace back to him. A lot of them stem from the fact that he, and my mom, were both children of Holocaust survivors. Max’s parents met and married in a displaced person camp. My mom was born on a farm in Provence, where her family was in hiding after fleeing Germany in the 30s. 

20200307_112031

Being raised by Children of Survivors means I’ve been practicing for unprecedented events like this my whole life. My pantry is fully stocked, and I panicked shopped three weeks ago, so my freezer downstairs and mini-fridge are in good shape. Rich was perplexed, and a bit annoyed, that I brought home extra toilet paper in February when he had just bought some, but I told him it was for later. 

Still, with all my extra-preparedness, I can’t help but worry for people who don’t have the economic ability to fill up a freezer in the basement, or even afford an extra package of toilet paper. All of us Parrs will be telecommuting from home for the foreseeable future, Lilli included, although Bea may never learn what letter comes after R at this rate.

20200309_172238

Bea’s purim costume from last weekend.

My hope is to get back to updating this site more frequently. But I will remind you right now that Cheap Beets already has a ton of pantry-friendly recipes. And of course I will keep posting meals on my Instagram feed, which has become my default way of getting food ideas out there.

The recipe I have for you today is one we’ve been making all winter. It’s a pantry recipe, meaning it doesn’t involve lots of fresh things, save for a chopped carrot, but chances are you have that in your fridge. I’m also guessing you have a big can of tomatoes, an onion, some bouillon or stock in the pantry, and a touch of sugar. 

If you have tomato paste, all the better – once I open my small can of it, I put the rest of it into a Ziploc bag in the freezer so I can break off tablespoons at a time for little flavor boosts with soups and sauces. 

Bea’s a big fan of this soup, and loves slurping it alongside her grilled cheeses

Now back to my tea.

Tomato Soup

Ingredients 

2 tablespoons extra virgin olive oil

2 tablespoons tomato paste

1 large onion, sliced

1 carrot, peeled and diced

1 28 oz, can of tomatoes (chopped, diced, pureed – it doesn’t really matter for this one)

2 to 3 cups stock (or water or water with bouillon) 

2 teaspoons brown sugar (use white if that’s all you have) 

Salt and Pepper to taste

Directions

Pour the oil into a large, deep pot over medium heat. When hot, add the tomato paste and let it cook for a minute, then add the onion and carrot. Sprinkle with salt and cook, stirring until the onion begins to soften, about 7 minutes. 

Add the canned tomato and cook, stirring occasionally until the tomatoes break up, about 10 to 15 minutes. Add the stock or water, stir, then bring to a boil. Adjust the heat and simmer long enough for the flavors to mingle, about 10 minutes.  

When the soup is done, puree it carefully in a blender or with an immersion blender. 

Serve hot, preferably with a grilled cheese sandwich. 

When I dip you dip we dip

The new year has come and gone, and so has Chanukah and Christmas, two holidays that filled our house with guests and lots of gifts for the girls. We had our bathroom floor replaced before the break, and now we, and the contractors know, that the pipes are in the wall, rather than the floor. Live and learn. 

20191231_150442.jpg

We hosted a latke bash for the last night of Chanukah, and served latkes made with veggies from our winter CSA: sweet potato, potato, and celery root and carrot. We also used potatoes Lilli planted with her kindergarten at the farm at her school last year. They weeded and composted, and cared for the potatoes since last April. 

We served the latkes with your choice of sour cream or apple sauce. For those wanting to guild the lily, you could also have creme fraiche, chives and caviar I found in my pantry when we were cleaning up from the aforementioned bathroom floor incident.

20191229_164423.jpg

I also made a gluten-free mac and cheese, with local milk, cheese and butter. (At Sylvie’s suggestion, I used corn starch in the roux; it was very easy to work with.) We had a big Greek salad, and this spinach and artichoke dip. 

I’ve been serving this dip for years, and it’s always a hit. Apologies for not sharing it sooner. The combo of fresh spinach and garlic, chopped artichoke hearts, cream cheese, cheese, a touch of mayo, and more cheese on top, is a winner, regardless of the gathering. 

It has about a pound of fresh spinach in it. That may seem like a lot, but as we say in this house, spinach is a lie. Plus, when you realize how much dairy the recipe calls for, the spinach seems to shrink even more than it has already. 

I tend to make this and bake it hours before serving, and then pop it into a hot oven for a brown crust on top right before serving. 

Amazingly, we had some left over from the party, and this weekend Rich put it in the waffle iron with batter for breakfast. Proof that you really can waffle anything!
IMG_0689001.jpg

Spinach and Artichoke Dip 

Ingredients

1 lb. fresh spinach, cleaned

2 cloves garlic, slivered

1 can, chopped artichoke hearts

⅓ cup mayonnaise 

1 package cream cheese, softened

2 cups shredded cheese (think mozzarella or provolone)

1.5 cups shredded parmesan 

Directions

Preheat oven to 350F

In a very large pot, heat a tablespoon of olive oil. Add garlic, and a pinch of kosher salt. Add the spinach, in batches if you have to. Cook it down – add a little water to help it cook down. This should take about seven minutes.

While the spinach cooks, chop your artichoke hearts and cut up the cream cheese. 

Once the spinach has shrunk, add the artichoke hearts and cook for about 30 seconds. Remove from heat and add the rest of the ingredients, except for the parmesan. Stir until everything is combined and soft. 

Pour mixture into a lasagna pan and bake in the 350F oven for 20 minutes. 

Before serving, raise the temperature of the oven to 400, sprinkle the parmesan on top, and bake until golden and bubbly. 

Serve with tortilla chips, pita chips, or cut up vegetables. Up to you, really. 

Snack-O-Lantern

Rich and the girls went on a corn maze adventure last Sunday, and somehow brought home EIGHT pumpkins at the end of the day. Two were painted by the girls, and we’re halfway through carving the two big ones into jack-o-lanterns:

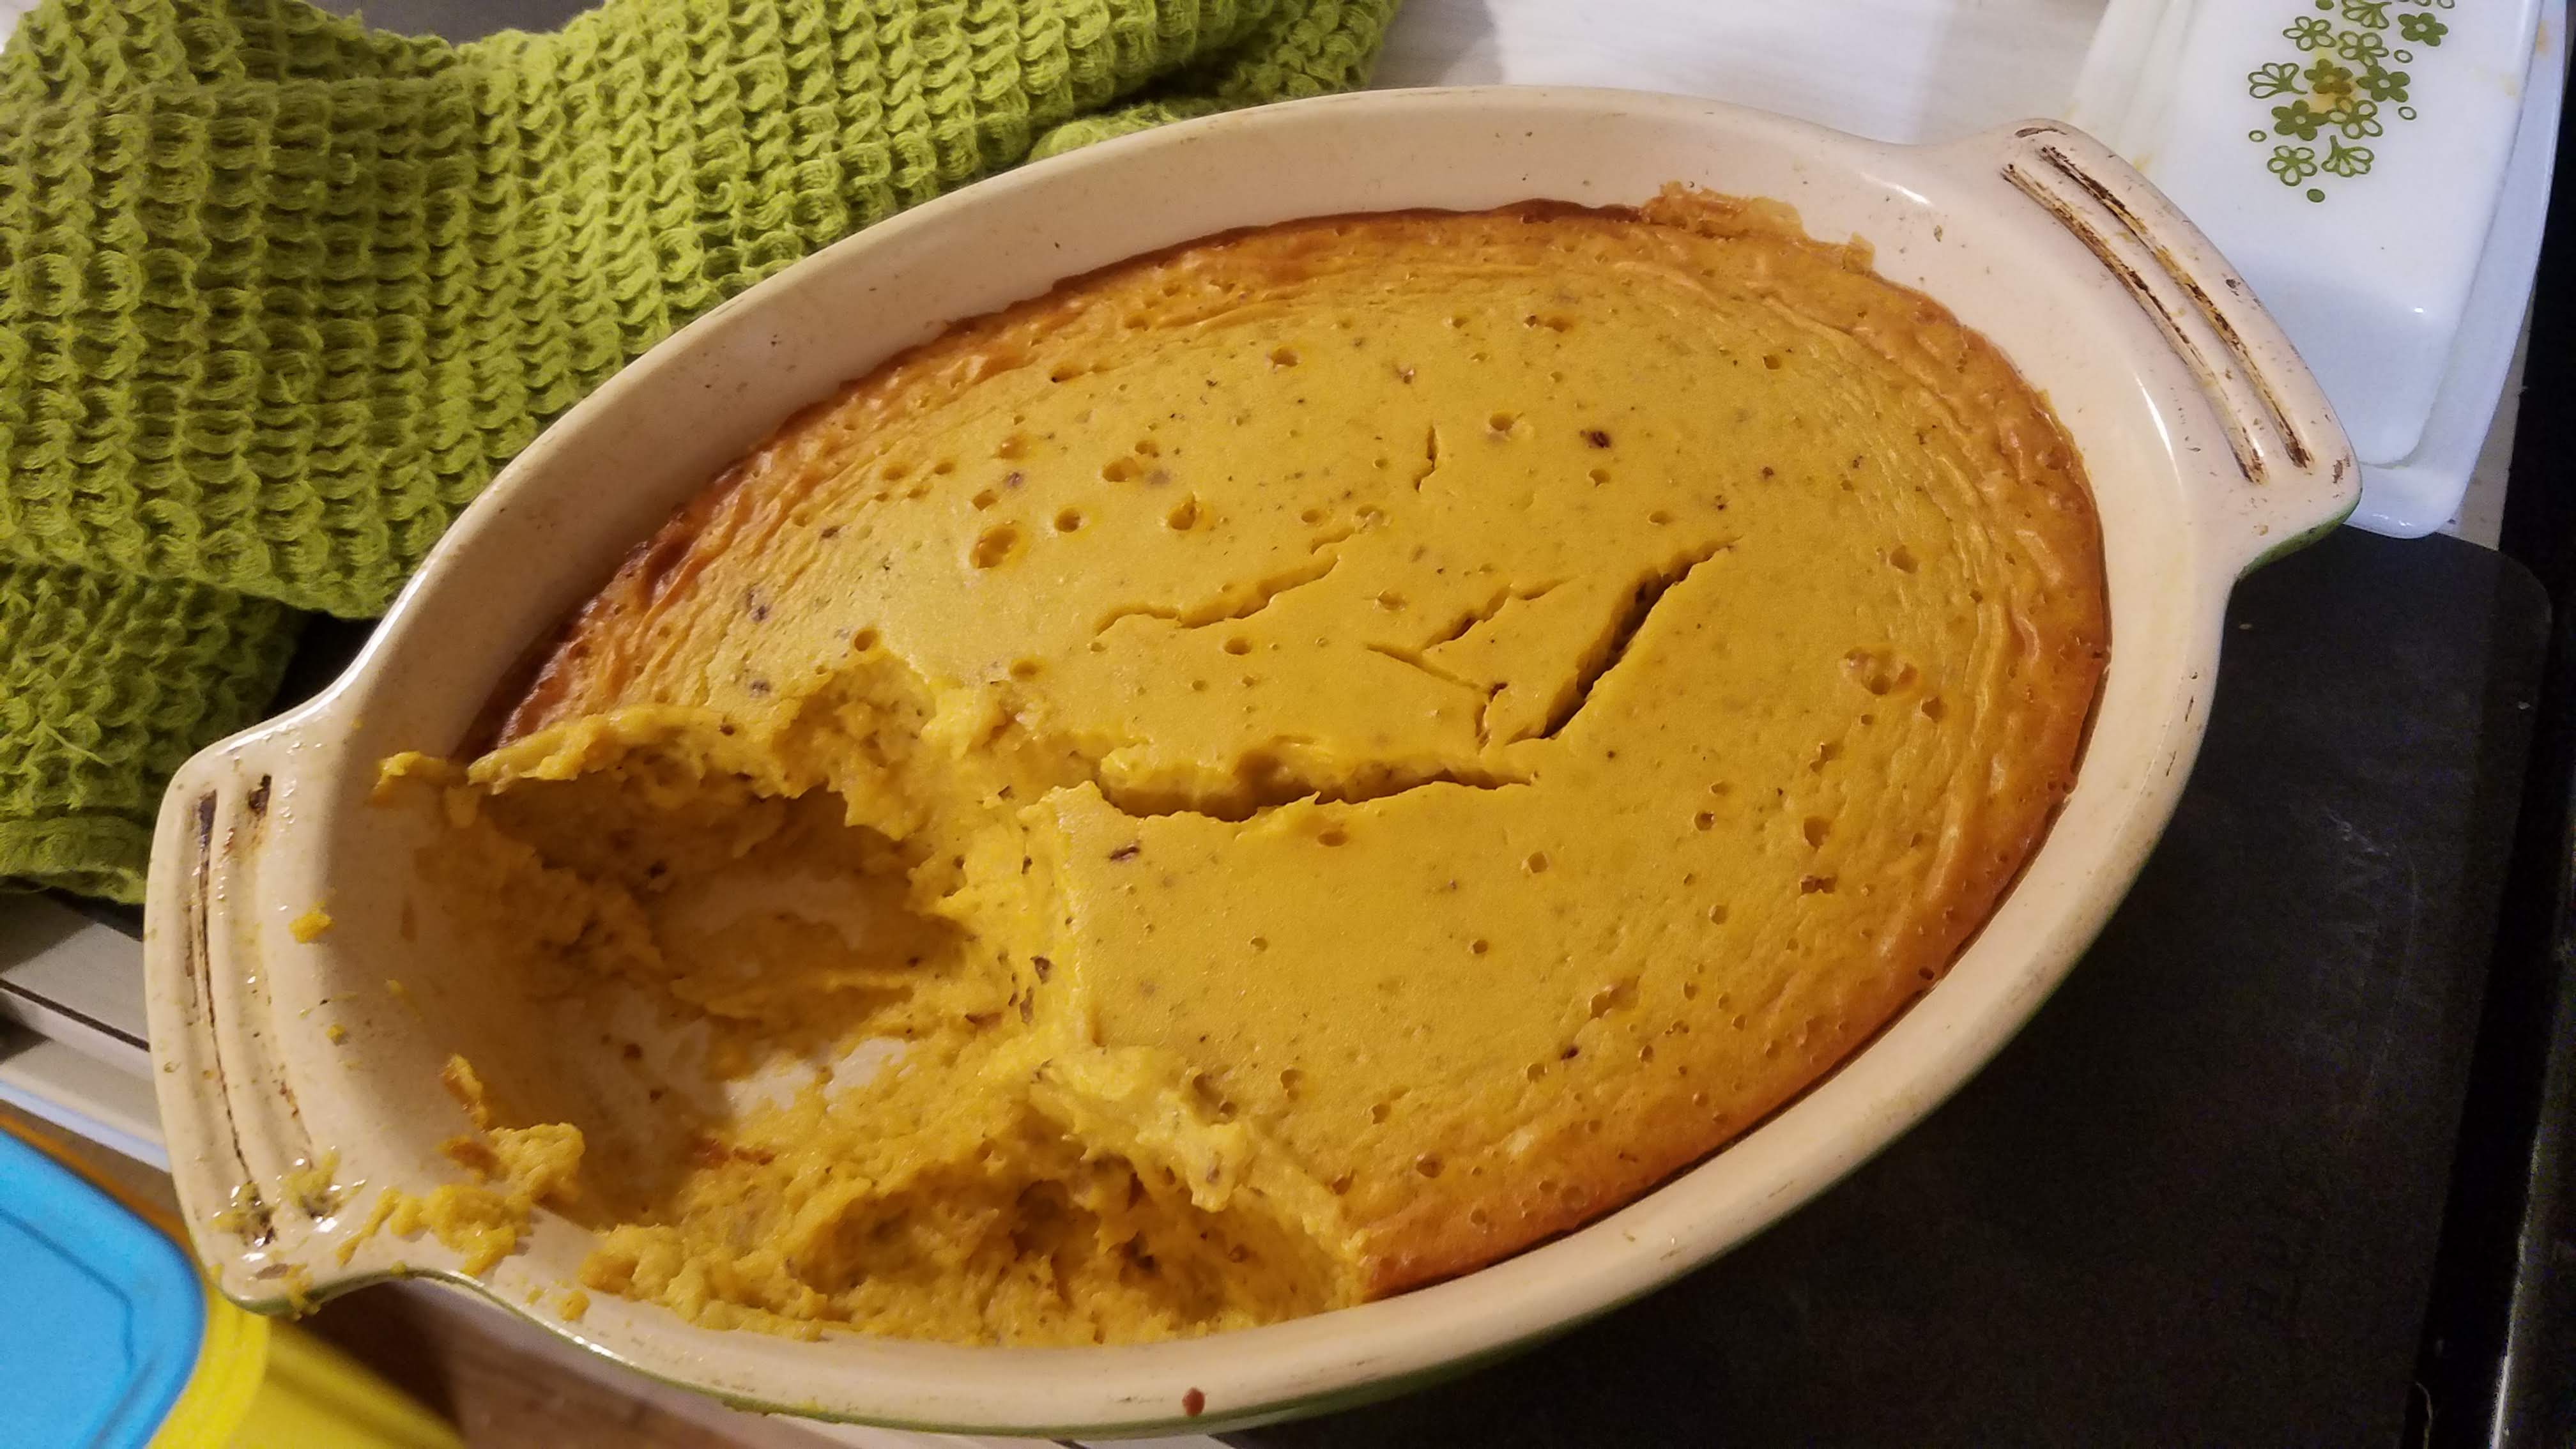
But the small sugar pumpkin, whose stem Lilli accidentally broke off, was roasted immediately and is now pumpkin pudding. I suggest you do the same with your sugar pumpkins. 

To rescue the broken pumpkin, we cut it in half lengthwise and removed the seeds and stringy guts with an ice cream scoop. Then we roasted the pumpkin, cut-side down and brushed with olive oil in a 400F oven, for about 50 minutes.

The recipe couldn’t be simpler; everything goes into a blender. The cookbook – The L.L. Bean Book of New New England Cookery, by Judith and Evan Jones – was inherited from Nana Parr. A friend commented on the photo of the pudding, noting how she also had inherited cookbooks and recipes. “It’s so special to pass on that love.”

20191023_190728.jpg

As for this recipe, I skipped the amaretto liqueur. I know a cup is a lot of honey. I personally made a point not to use the expensive kind I own for this recipe. I used golden raisins for my raisins. I find the pudding tastier a little warm, so I’ve been scooping myself servings, then heating it up in the microwave for about a minute before serving. This would be great with whipped cream, although we have been enjoying it with plain yogurt with a little maple syrup drizzled in. This is a pumpkin pudding that tastes like autumn without tasting anything like pumpkin spice. 

Put your kettle on for the water bath before you start making the pudding; it comes together that quickly.

Pumpkin Pudding from The L. L. Bean Book of New New England Cookery by Judith and Evan Jones 

Ingredients 

2 cups pumpkin puree 

4 eggs

½ cup water

1 cup honey

½ cup raisins

½ cup currants

4 Tablespoons flour 

Directions

Preheat the oven to 350F. Heat a kettle of water. 

Put all the ingredients in a food processor or blender and mix thoroughly. 

Pour the batter in a shallow, lightly buttered baking dish, and place the dish in a pan containing about 1 inch of hot water.

Bake in a 350-degree oven for 50 to 60 minutes. Serve hot or at room temperature. 

Serves 6 to 8.

Magic Tofu

I did a quick glance through the past few posts that I managed to get up on this site, and I’m slightly embarrassed to realize they are all desserts. And what’s more, I came to tell you about our local and sustainable Rosh Hashana, with a recipe for a scrumptious carrot cake. 

20191001_182005.jpg

Lest you think we eat dessert all day long, I will instead share a recipe I’ve been meaning to post for months now. It’s actually a recipe that I’ve already shared, but with enough tweaks that it is a completely different beast. It’s now the best darn tofu I’ve had in my life. 

20190625_183717.jpg

Remember the special, special tofu that people flipped for last year? Well, I’ve made it better. And instead of a three-day marinade, this is now a less-than 20 minutes from start to finish recipe. First you’re going to blot dry your tofu, then cut it up, toss it with some corn starch, then fry it in a nonstick pan. Flip it, fry the other side, pour the sauce on top of your golden, crisped up tofu. Soon enough, you’ll be looking at the prettiest, glossiest tofu. And it tastes even better than it looks. 

There is one thing about this recipe that has stopped me from posting: It tastes best right out of the pan. I can’t figure out how to reheat the leftovers, so you’ll need enough people to eat all the tofu. Unless you want to stuff yourself, but please don’t do that!

The Best Tofu You’ve Had in Your Life, adapted from Saladish by Ilene Rosen

Ingredients 

1 (14 oz [400 g]) block extra-firm tofu 

2 to 3 Tablespoons (16 to 24 g) cornstarch

1 Tablespoon  (15 ml) oil, for pan

Sauce

2 Tablespoons mirin

3 Tablespoons seasoned rice vinegar

4 ½ teaspoons flavorless vegetable oil

1 Tablespoon Tamari

1 Tablespoon honey 

Directions

Drain the tofu and squeeze it between your hands over the sink to get the excess water out. Slice it into cubes, or slabs. Sprinkle 1 heaping Tablespoon (about 8 to 12g) cornstarch into a large container, add the tofu in a single layer , then sprinkle another heaping tablespoon (8 to 12g) of cornstarch. If you can, cover the container and shake to coat the tofu with cornstarch.

In a large nonstick skillet, heat the oil over medium-high heat. Add the tofu in a single layer and fry, flipping once when golden, until crispy on both sides, about 4 minutes per side. (While the tofu is frying, prepare the sauce.) Lower the heat to medium and pour in the sauce. Let the sauce simmer and thicken for a couple of minutes, flipping to tofu to coat it on both sides. 

Serve immediately.